
Turn a Child’s Drawing into a Plush-Style Picture
Choose a drawing, describe the details to keep, and try fabric textures with the Plush toy style. A practical guide to creating and reviewing a plush-style image.
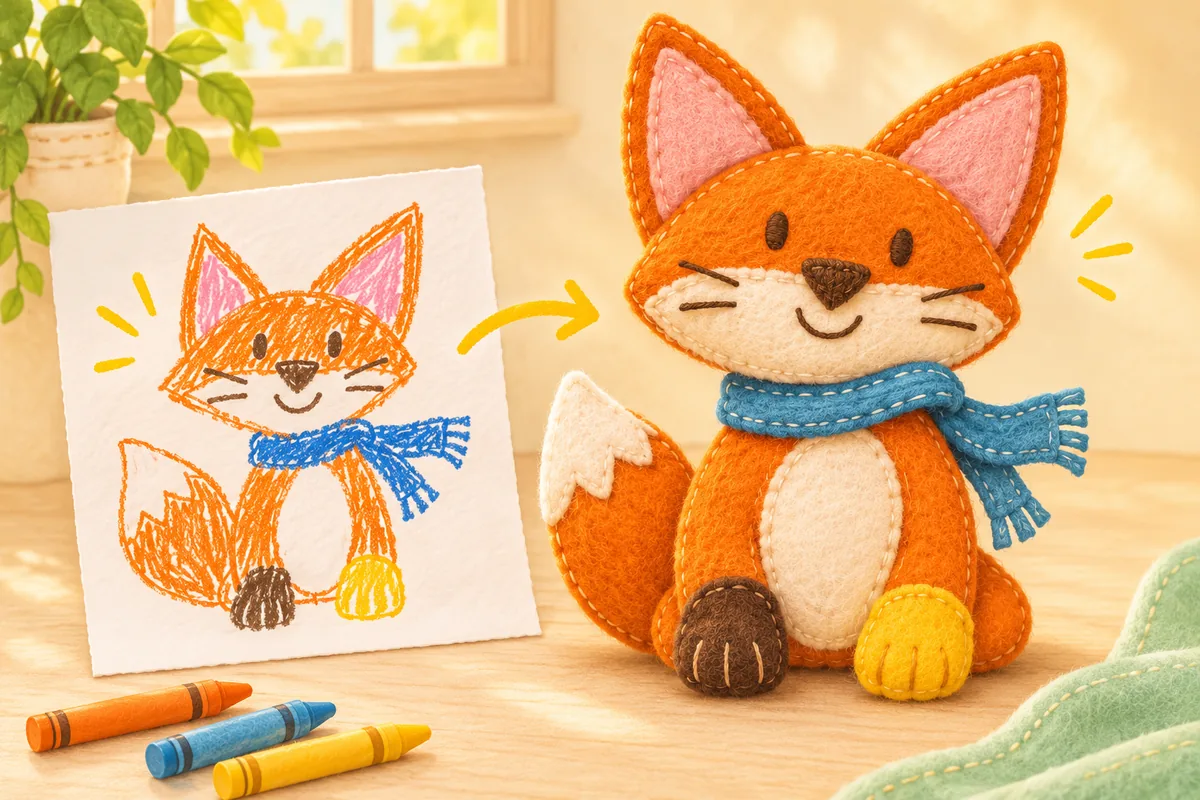
A fox with uneven ears and a crooked scarf already has a personality. The Plush toy style gives that drawing a new visual direction: fabric, soft edges and stitched details. Start from your child’s own artwork in the drawing studio, then compare the generated picture with the original.
The illustration above shows the idea. The tool creates a digital image; it does not manufacture or ship a toy.
Choose a drawing with a clear silhouette
A single character is a useful first attempt because its outline is easy to compare. Look for the details your child notices first: a long tail, two different ears or an orange patch around one eye. Keep those in the photograph rather than cropping them away.
Place the paper in even light, take a photo from above and remove names or school details from the frame. Upload the photo, then use the crop and rotation controls if the page needs straightening. See the drawing preparation guide for the full upload steps.
Describe the character before the material
Choose Plush toy, then add a short description of the features that matter. For example:
An orange fox with oversized triangular ears, a white belly and a crooked blue scarf. Keep the paws different sizes. Soft felt and visible stitching.
The character details give the model something concrete to work with. Long instructions that ask for several different materials or visual styles can make the direction harder to follow. The selected style already supplies the broad plush look.
Review the result with the original
Check the scarf color, ear shape and unusual proportions before deciding whether to keep the image. AI can add or change details, so the result may need another attempt. Use the comparison slider to inspect the original beside the generated version, and download the result you prefer.
If you want to change the description, edit it in the studio before generating again. Regenerate repeats the saved settings for the selected result and asks you to confirm the credit cost. Each new generation uses credits; downloading an existing result does not start another generation.
Keep the image or add a small movement
Saved results appear in My creations. You can reopen a project, download the image or enable a share link when you want someone else to see it. Check that the original contains no personal details before enabling sharing.
To make a video, choose the generated image as the starting point and try a gentle movement. The drawing animation guide explains how to choose an action and review the duration before generating.
Try the Plush toy style, or read how to compare and save different versions of the same drawing.